Using wpa_gui
wpa_gui provides a Qt GUI interface for wpa_supplicant and enables you to choose which configured network to connect to. It also provides a method for browsing 802.11 SSID scan results, an event history log of messages generated by wpa_supplicant and a method to add or edit wpa_supplicant networks.
wpa_gui is in the package wpagui.
Before trying to use wpa_gui you need either to use ceni to set up a basic config or take a few moments to set up some config files with Setting up for WiFi Roaming with wpa.
You will most likely need non-free firmware to be available on a USB-stick to install on the operating system. Please refer to non-free firmware debs on a stick.
Using the GUI interface wpa_gui
You can start the wpa_gui from the menu, or if you prefer the cli, as user with $ /usr/sbin/wpa_gui.
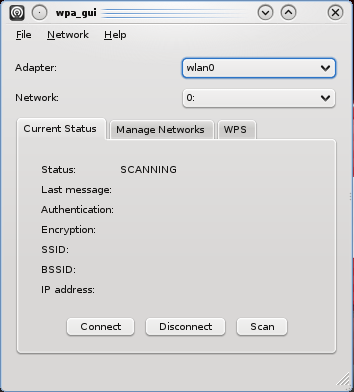
When starting wpa_gui for the first time the default screen is:

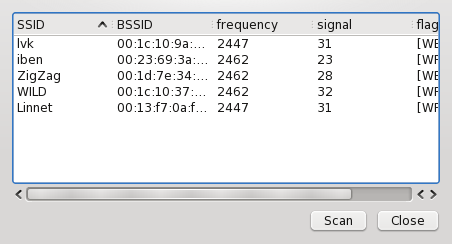
To find what WiFi networks are available click on Scan to bring up a list of available networks.

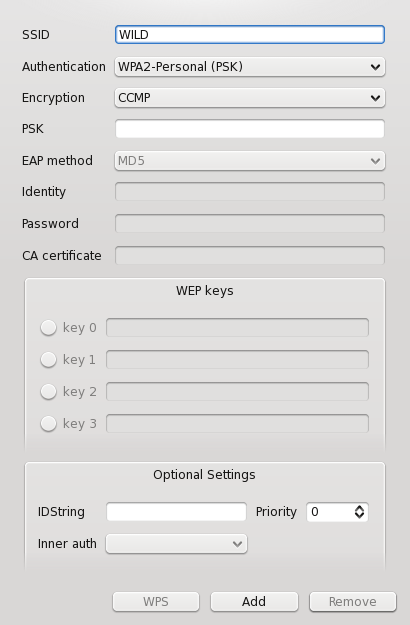
Doubleclick on the network you want to add which will bring up this screen:

Add the required passphrase to enable access and click on add:
If you are happy and everything is working, you can add the settings to /etc/wpa_supplicant/wpa-roam.conf by choosing File > Save Configuration.
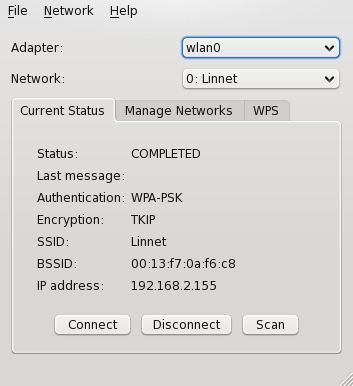
After the initialisation of wpa_gui, the known added networks within range will show from the Network drop down box:

In a 'roaming mode' you will need to restart the scan process.

 Search online - offline

